Custom/Generic Implementation
This guide provides a comprehensive overview of how to implement Swell Loyalty and Referrals on generic non-hosted or custom built eCommerce store.
🚧 Note:
There are some basic required implementation steps required to get a minimal set of Swell features running on your generic or non-hosted eCommerce store. Once you've set up the basic set of features, there may be additional implementation steps depending on the exact features you wish to utilize.
Step 1: Swell JS SDK
The first step in the implementation process will be to add the Swell Javascript SDK to your site. This typically gets added either in your head tag or at the bottom of your layout before your closing body tag.
📘 Tip:
You can find your unique javascript URL in the Settings Page of your Swell admin.
Swell JS SDK Snippet
The Swell JS SDK will help power all of Swell's loyalty, referral, and email capture functionalities on your site. By adding this snippet and configuring your Swell Admin you can start using the Email Capture Tool right out of the box without any additional implementation. However, it's worth noting that you will not be able to reward customers with a coupon for completing the Newsletter Signup campaign without creating and uploading coupon codes explained in the Coupon Creation & Upload step of implementation.
The snippet should be added as it appears below with your Swell JS SDK inserted in the src attribute:
// Add this script tag to your HTML head section
// Replace YOUR_GUID_HERE with your actual Swell GUID
<script type="text/javascript" async src="https://cdn.swellrewards.com/loader/YOUR_GUID_HERE.js"></script>
Example HTML structure:
<!DOCTYPE html>
<html>
    <head>
        <!-- rest of your js/css includes -->
        <script type="text/javascript" async src="https://cdn.swellrewards.com/loader/YOUR_GUID_HERE.js"></script>
    </head>
    <body>
        <!-- your page content -->
    </body>
</html>
Step 2: Identifying Customers
In order to know who is completing actions on your storefront it's necessary to identify the current logged-in user. Typically, a customer is identified by their email address and third party id which is usually the ID used in your database.
The simplest way to identify a logged in customer is using a hidden div tag in your layout. On page load, the Swell JS SDK will scan the DOM for an element with an id of swell-customer-identification and if found, it expects the logged in customer's information to be stored as data attributes on the element.
An example written using liquid templating would look like this:
<!-- Customer identification div (hidden) -->
<!-- Only render if customer is logged in -->
<div
    id="swell-customer-identification"
    data-authenticated="true"
    data-email="[email protected]"
    data-id="12345"
    data-tags='["VIP","wholesale"]'
    style="display:none;">
</div>
🚧 Note:
The data-tags attribute should be a JSON string representing an array of string tags. For example, if the customer was tagged "VIP" and "wholesale" you would want data-tags='["VIP","wholesale"]'
Once you've identified the logged in customer, you will now be able to utilize all of Swell's non-spend based campaigns.
This includes the following campaigns:
- Instagram Follow
- Twitter Follow
- Twitter Tweet
- Twitter Retweet
- Facebook Page Visit
- Facebook Share
- Happy Birthday Campaign
- Code Entry Campaign
- Yotpo Review
- Read Content
- Custom Action
Step 3: Coupon Creation and Upload
Now that your customers can earn points we need a way for them to redeem those points for discounts. The most common way to achieve this is by using coupon codes.
In your platform you'll need to create bulk coupon codes for each type of reward you wish to offer. For example, if you want to offer a 10% Off coupon code for completing the Newsletter Signup and the ability to redeem points for either a $5 Off, $10 Off, and a $25 Off coupon code, you'll need to make sure to create bulk coupon codes for each one of these reward options.
Once these codes are created, you can format them into a text file where there is one code per line and then upload the codes to their respective coupon in the Swell Spending Points section. It's up to you how many to upload per coupon, but we recommend at least a few thousand to get started.
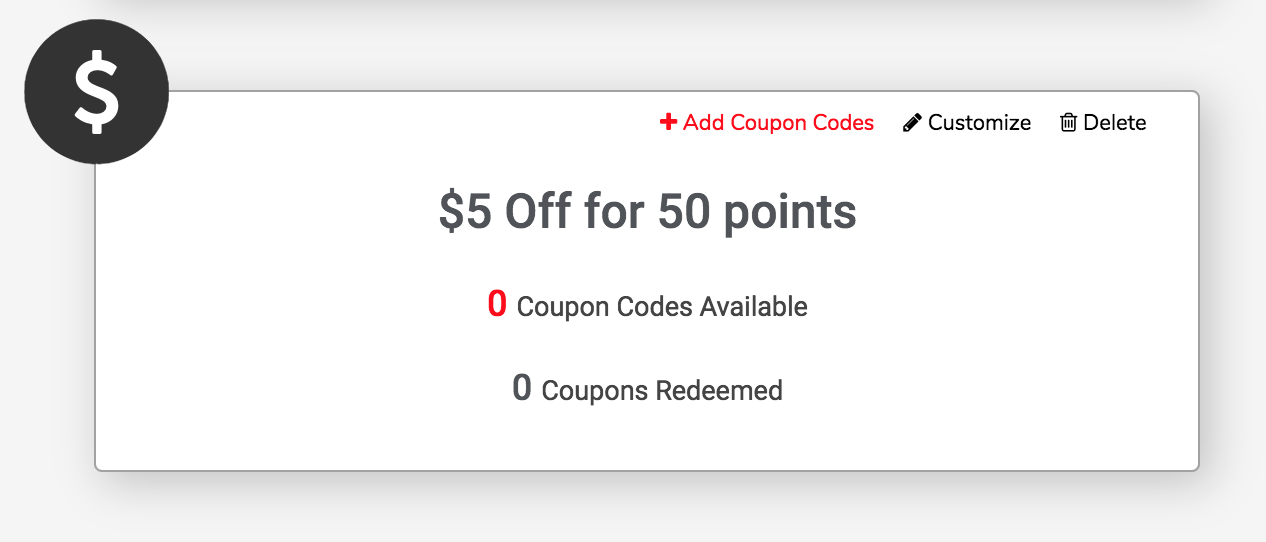
When you add a custom coupon, the option to +Add Coupon Codes will become available.
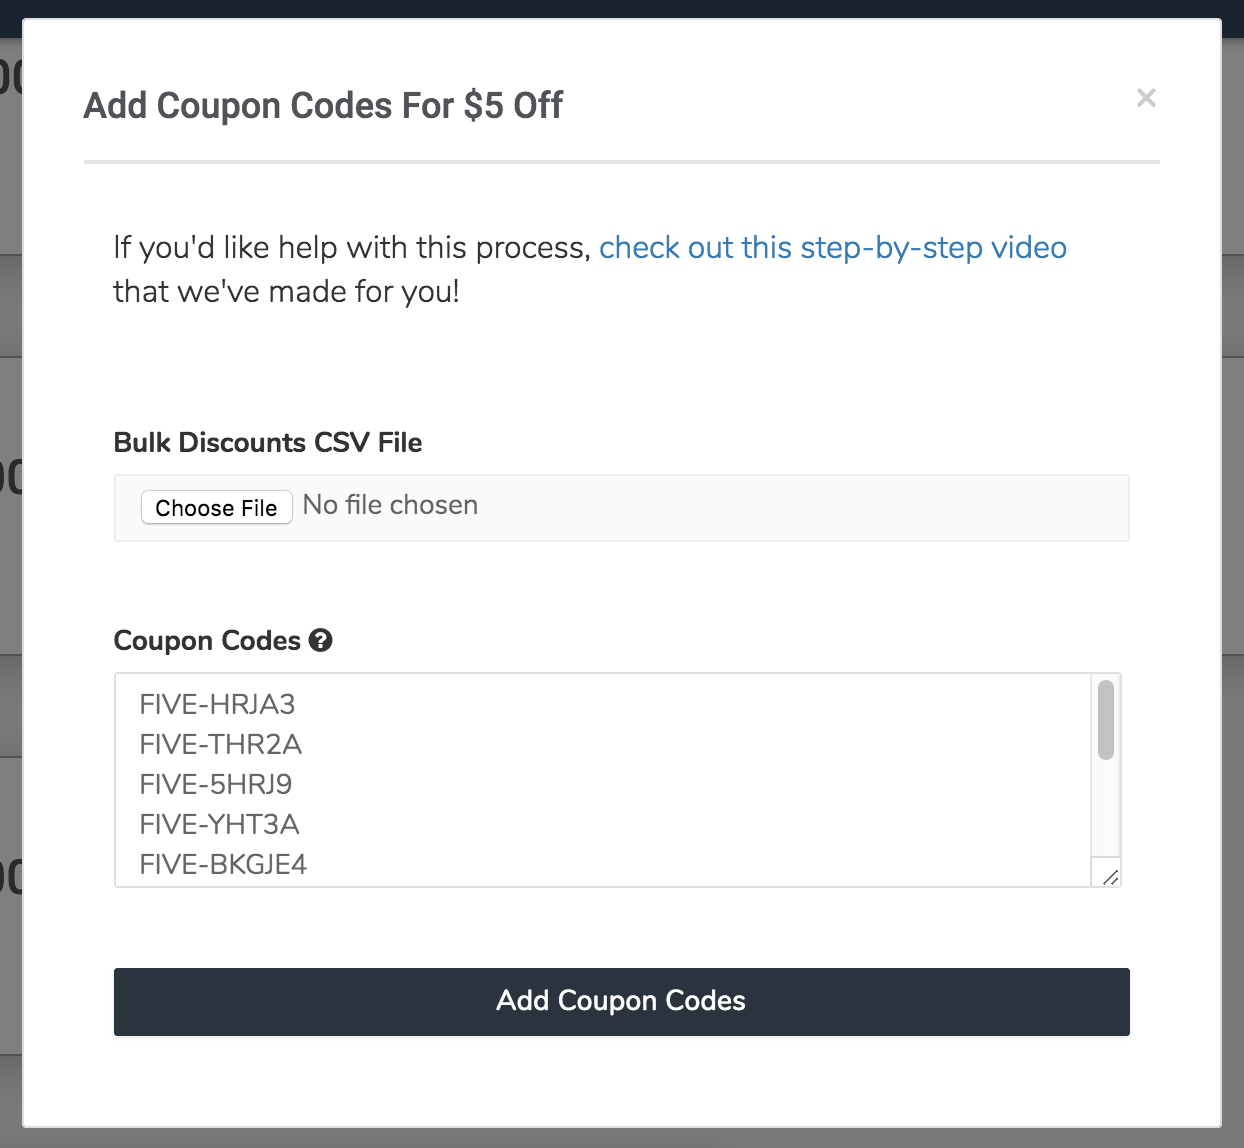
You can either upload a file via Bulk Discounts CSV File, or just paste in the codes in the provided Coupon Codes text area.
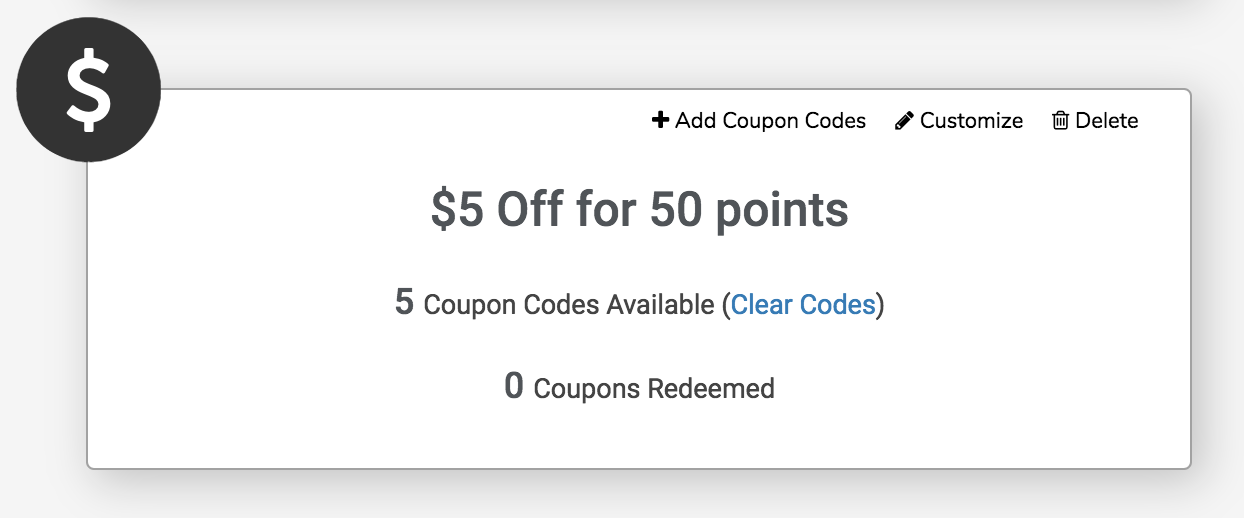
Once a coupon is associated with codes, it will display the remaining available coupon codes and will allow you the option to Clear Codes.
Step 4: Order Data
🚧 Note:
Swell will award points in accordance with the order sum sent via this API Endpoint.
If you wish to exclude/include shipping & taxes when awarding "Points for Purchase", please make sure to send the order total before/after shipping & taxes.
If you'd like to use any of the spend-based campaigns or the referral program, you'll need to provide Swell order data via the Create Order endpoint.
How much information you include depends on what features you want to use as part of your spend based campaigns.
If you just want relatively simple points for purchases based on the amount spent or the number of purchases, then you'll need to provide just the required attributes. If you want to get more sophisticated and restrict certain campaigns to certain products or product collections, then you'll need to include information about what products were purchased.
To do so, send a newly created order to Swell to be processed by active campaigns:
📘 Tip:
Need help finding your Swell api_key and guid? Click Here
Points Redemption
The Create Order endpoint supports the status parameter which is important for Swell's point redemption process.
When a customer wants to redeem their points, there are two ways you can set this up:
Convert Points Explicitly
You may convert points explicitly to a coupon code that you give to the customer to use at checkout. In this version, Swell will immediately deduct the points from their account as they received the coupon code in exchange, and can use it whenever they want. There's no use for the status param in this version because you can just send Swell the order when you're ready for it to be processed by the active campaigns.
Convert Points to a Discount at Checkout
If you opt to convert points to a discount at checkout, you are essentially converting to a coupon code but the customer is not explicitly aware of the coupon code. We typically recommend implementing this in a way that the coupon code is automatically applied to the current cart after a successful redemption.
In this version, we do not remove the points from the customer's account until after the purchase is made. The reason for this is that your customer might redeem points at checkout and either change their mind about which redemption option they want to use, or may abandon their cart altogether.
If the points were deducted immediately, the customer wouldn't have the option to change their mind and would lose access to their discount code. To avoid potential customer complaints about this scenario, Swell waits to remove points until after checkout is completed. You may also wish to delay the rewarding of points until after the order is fulfilled or another state other than immediately following a purchase.
In this case, you can use the status attribute to differentiate between paid (when we will remove the points used for the discount at checkout) and awarded (when we will process the purchase through the active campaigns).
You're free to use any status you like, just be sure to explicitly specify them in your Swell admin settings.
Step 5: Refund Data
If you'd like to deduct or re-issue points redeemed at checkout for refunded orders, you'll need to send Swell the refund data. Similar to order data, if you're using product-specific requirements or restrictions for campaigns, you'll also need to include specific item information along with the required refund data. This should be done by sending a new refund to the Swell API via the Create A Refund endpoint to modify the previously processed order.
Step 6: Customer Data
Use the Create/Update Customer Records endpoint if you'd like to reward for account creation or restrict your program by certain customer tags or collections, you'll need to provide Swell with the customer data.
Updated 9 months ago